How Can We Help?
Editing Menus
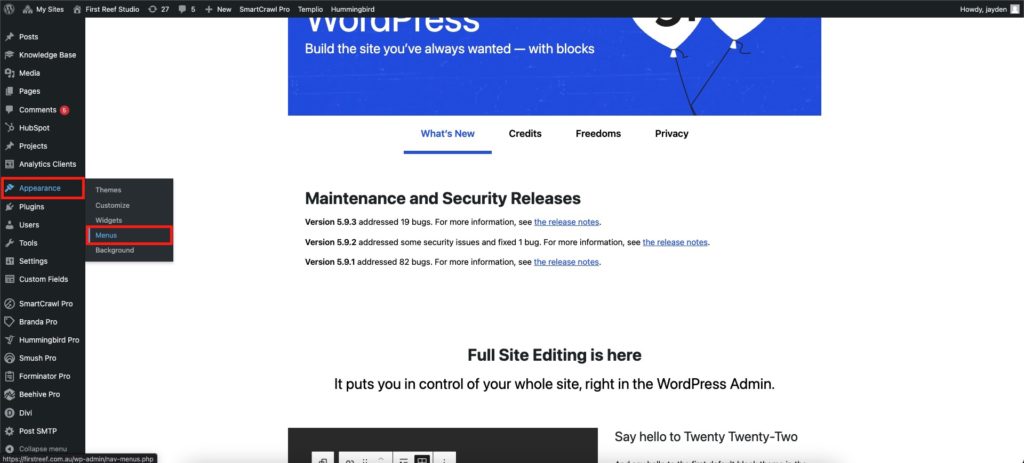
Before editing or creating menus, log in to your WordPress dashboard.
In the sidebar, go to Appearance > Menus.
At the top of the page, you will see a menu selector, usually, you will have a Primary Menu and at least one Footer Menu.
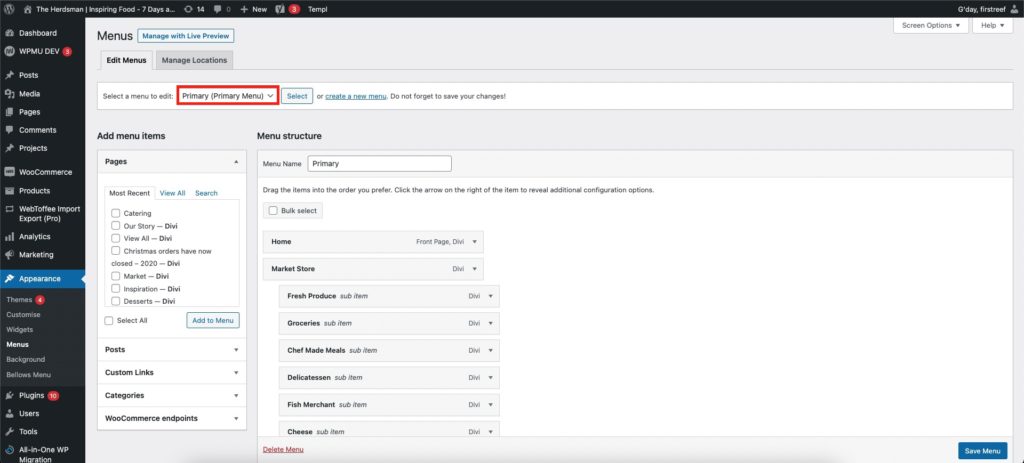
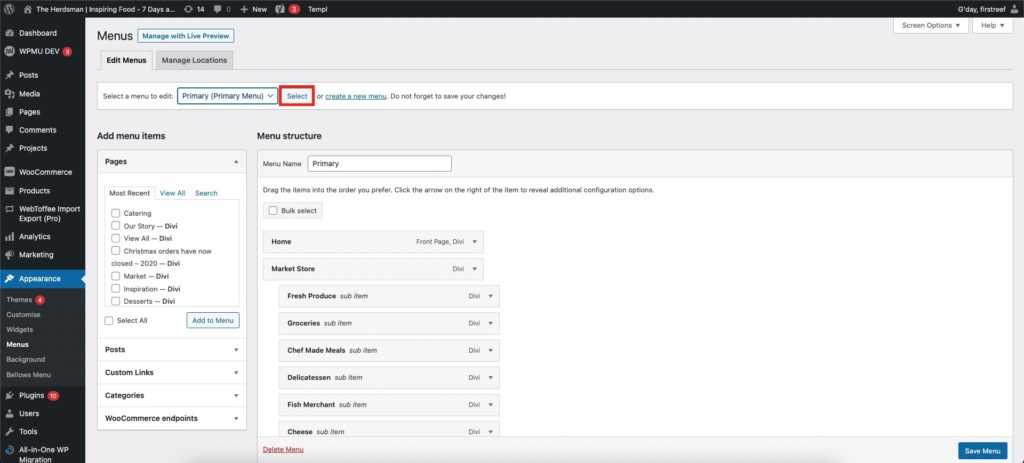
Your Primary Menu is what appears at the top of your website. To edit it, select it in the drop-down and click “select”.
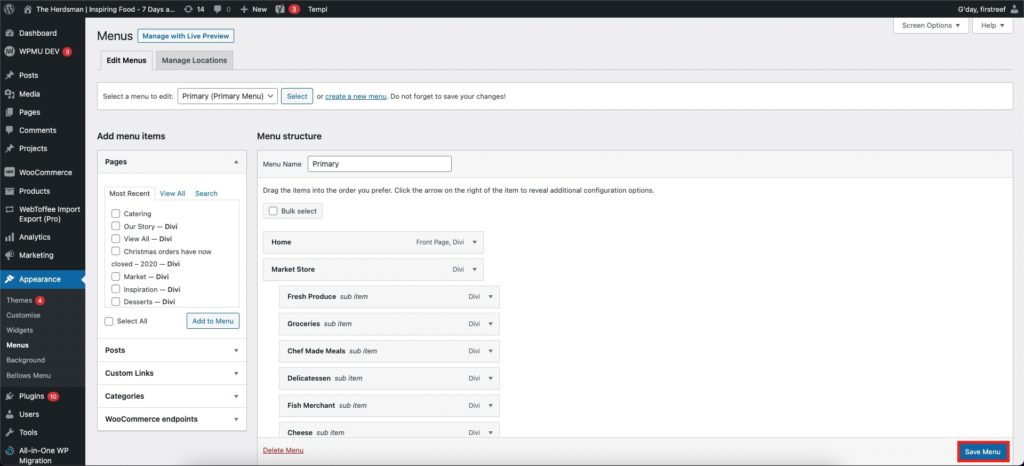
Below this, you will see 2 columns. The left column is how you add new items to the menu, the right column is to organise/edit the items in the menu.
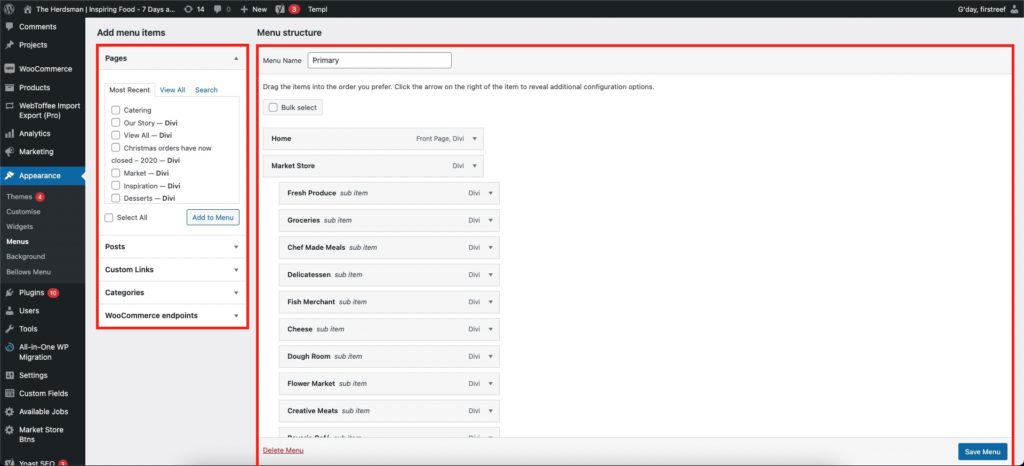
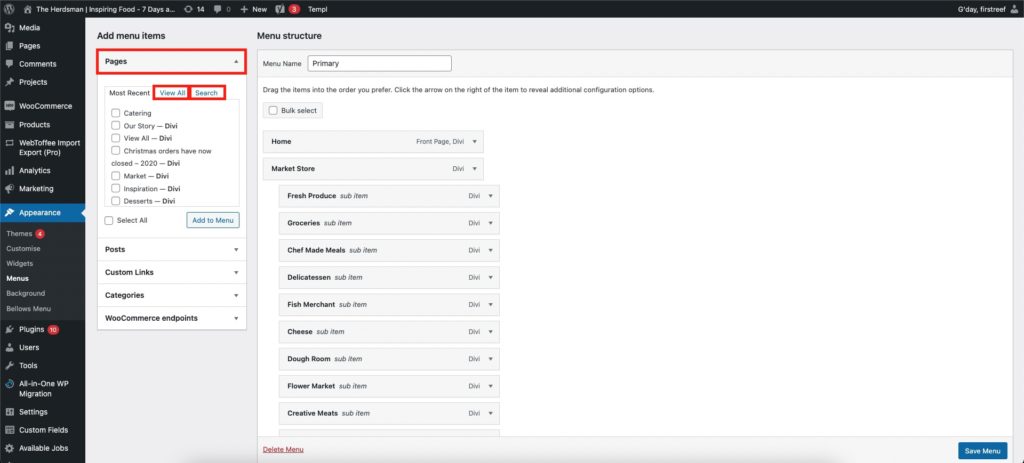
To add a page to the menu, find the page in the Pages tab (left column). If you can’t see your page click “View all” or “Search”.
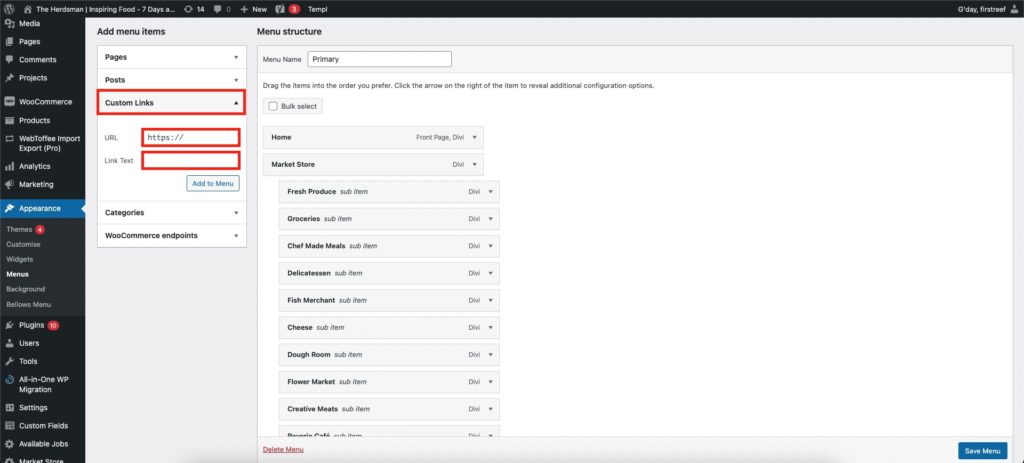
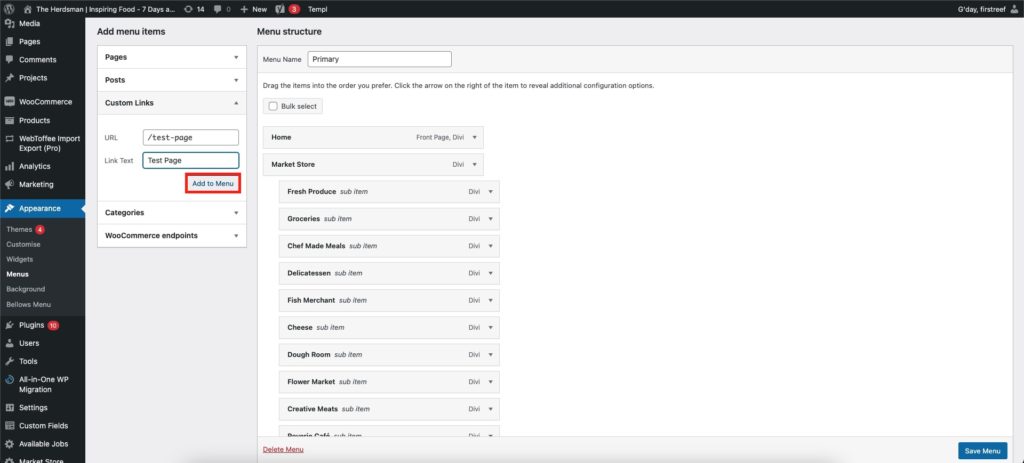
If you want to link to another resource, you can use the “Custom Links” tab. Type a URL to the resource, then give it a label in the Link Text field.
Once you are ready, click “Add to Menu”. The new item will be added to the bottom (end) of the menu.
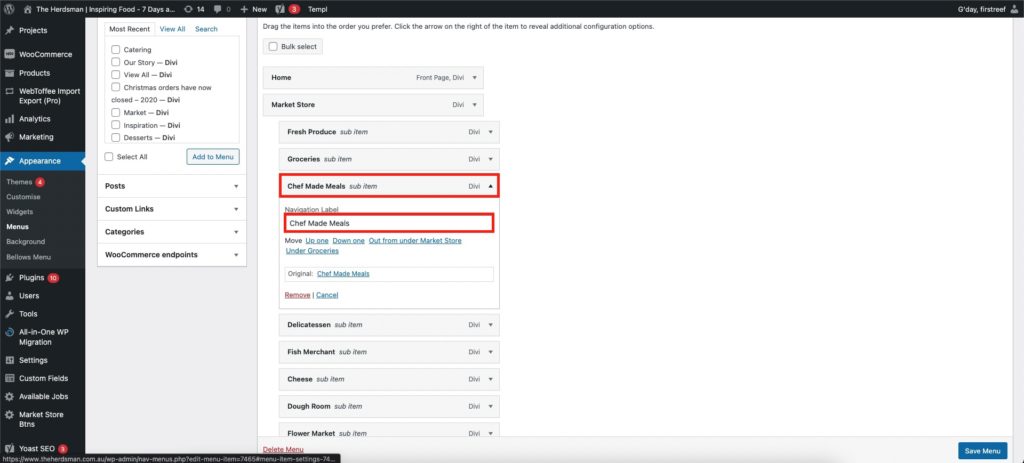
You can click and drag menu items to re-arrange them, and you can “nest” them inside each other by slightly dragging them to the right.
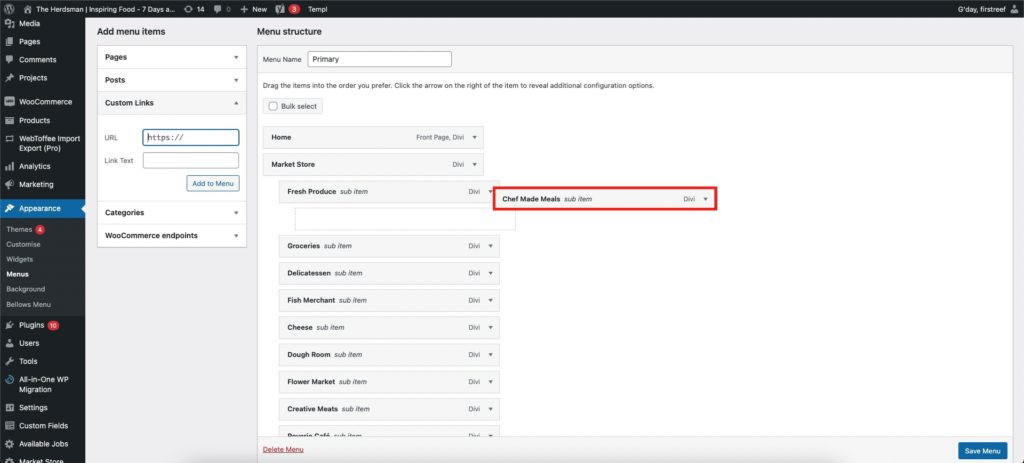
If you don’t want to use the default page name as the menu label, you can click the down arrow on the menu item and edit the Navigation Label.
Once you have made all your changes, click “Save Menu” and reload your website.